How to Build a Wooden Rowboat with Easy-to-Follow Blueprints
Building a Wooden Rowboat: A Journey of Craftmanship
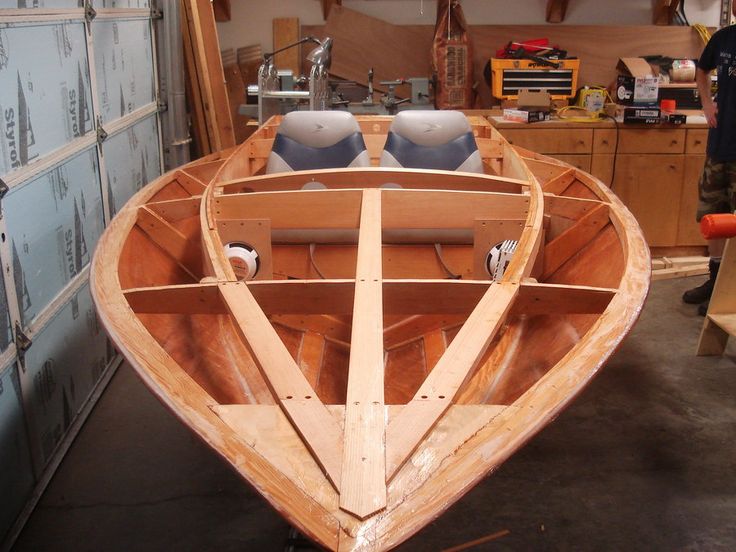
Building a wooden rowboat is a rewarding project that will test your skills and leave you with a timeless piece of craftsmanship. The journey from raw lumber to a sleek vessel capable of gliding through the water is a process filled with precision, patience, and the satisfaction of creating something beautiful and functional with your own hands. This article will guide you through the process of building a wooden rowboat using readily available blueprints and accessible tools.
Choosing Your Blueprint
The first step is to select a blueprint that aligns with your skill level and desired boat dimensions. Numerous online resources and books offer detailed blueprints for wooden rowboats, ranging from simple designs to more complex models. Consider factors like:
- Length and width: Determine the size that suits your intended use and storage space.
- Draft: The depth of the boat below the waterline, affecting its ability to navigate shallow waters.
- Construction method: Choose a blueprint that utilizes a method you're comfortable with, like stitch-and-glue or carvel planking.
Once you've selected a blueprint, carefully study its instructions and diagrams. It's essential to understand the terminology, techniques, and required materials before you begin.
Gathering the Necessary Materials
Once you have your blueprint, compile a comprehensive list of materials. This typically includes:
- Lumber: Marine-grade plywood or solid wood planks, depending on the blueprint.
- Epoxy resin and hardener: For bonding and sealing the wood.
- Fiberglass cloth: For added strength and water resistance.
- Fasteners: Screws, nails, and staples.
- Paint and varnish: For protecting the wood and giving it a finished look.
- Oars and rowlocks: For propelling the boat.
- Hardware: Seats, cleats, and other essential fixtures.
Ensure you have all the necessary tools, such as saws, planes, sanders, clamps, and a drill. Don't hesitate to purchase high-quality tools that will make the construction process smoother and more efficient.
Building the Boat: A Step-by-Step Guide
With your materials and tools gathered, follow the steps outlined in your blueprint. Remember to work meticulously, taking your time to ensure accuracy and precision. Some common steps include:
1. Cutting and Shaping the Hull
Carefully cut and shape the hull pieces using your chosen tools. You may need to use a jig saw, band saw, or table saw for precise cuts. Ensure the pieces fit together perfectly before gluing or fastening them.
2. Assembling the Hull
Use epoxy resin and fiberglass cloth to bond the hull pieces together. Follow the specific instructions in your blueprint for the recommended layers and curing time. Use clamps to secure the pieces while the resin dries.
3. Building the Deck and Interior
Once the hull is complete, build the deck and any interior components like seats, storage compartments, and other fittings. Use the same techniques as in the hull construction, ensuring all parts are securely attached.
4. Finishing Touches
After the boat is assembled, sand it thoroughly to create a smooth surface. Apply paint and varnish to protect the wood and give it a beautiful finish. Install oars and rowlocks, and any additional hardware like cleats or grab rails.
Launching Your Rowboat
Once your wooden rowboat is fully built, it's time to launch it. Take your time, carefully maneuvering the boat into the water. Enjoy the fruits of your labor as you navigate the water, propelled by your own strength.
Building a wooden rowboat is a journey that combines skill, patience, and a love for the water. With dedication and careful attention to detail, you can create a lasting legacy in the form of a beautiful and functional piece of craftsmanship.
0 comments:
Post a Comment
Note: Only a member of this blog may post a comment.